Introduction
The NXP LPCXpresso55S69 Board is an development board of the manufacterer NXP. The device is based on the Arm® Cortex®-M33 architecture with 320kB of RAM and 640kB of ROM. It is capable as an application controller for the iRJ45/SoM module.
Currently the LPCXpresso55S69 is only compatible with uGoal.
Software
Integrated Development Environment
The MCUXpresso IDE by NXP is a free Integrated Development Environment which provides several utilities to develop and debug applications for the LPCXpresso55S69 Board. It is available on the NXP website.
Building and Flashing
For compiling the example code, the GNU Arm Embedded Toolchain is required. It can be obtained in several ways. Further information can be found here: https://developer.arm.com/tools-and-software/open-source-software/developer-tools/gnu-toolchain/gnu-rm/downloads. To flash the application the MCUXpresso IDE is needed.
Make sure, the toolchain is added properly to your path variable after the installation.
Getting Started
Preparations
Hardware Requirements
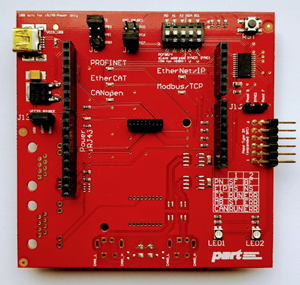
Make sure following settings are set:
J13 - Connect “iRJ45” with “Sockel”
J8 - Connect “CS_SOURCE” with “PB2”
J7 - Connect “RST_SOURCE” with “PD7”
Set all DIP-Switches to “OFF”
NXP LPCXpresso55S69 Board

Set the Jumper J1 - DFU if you want to flash the device per command line.
Target System
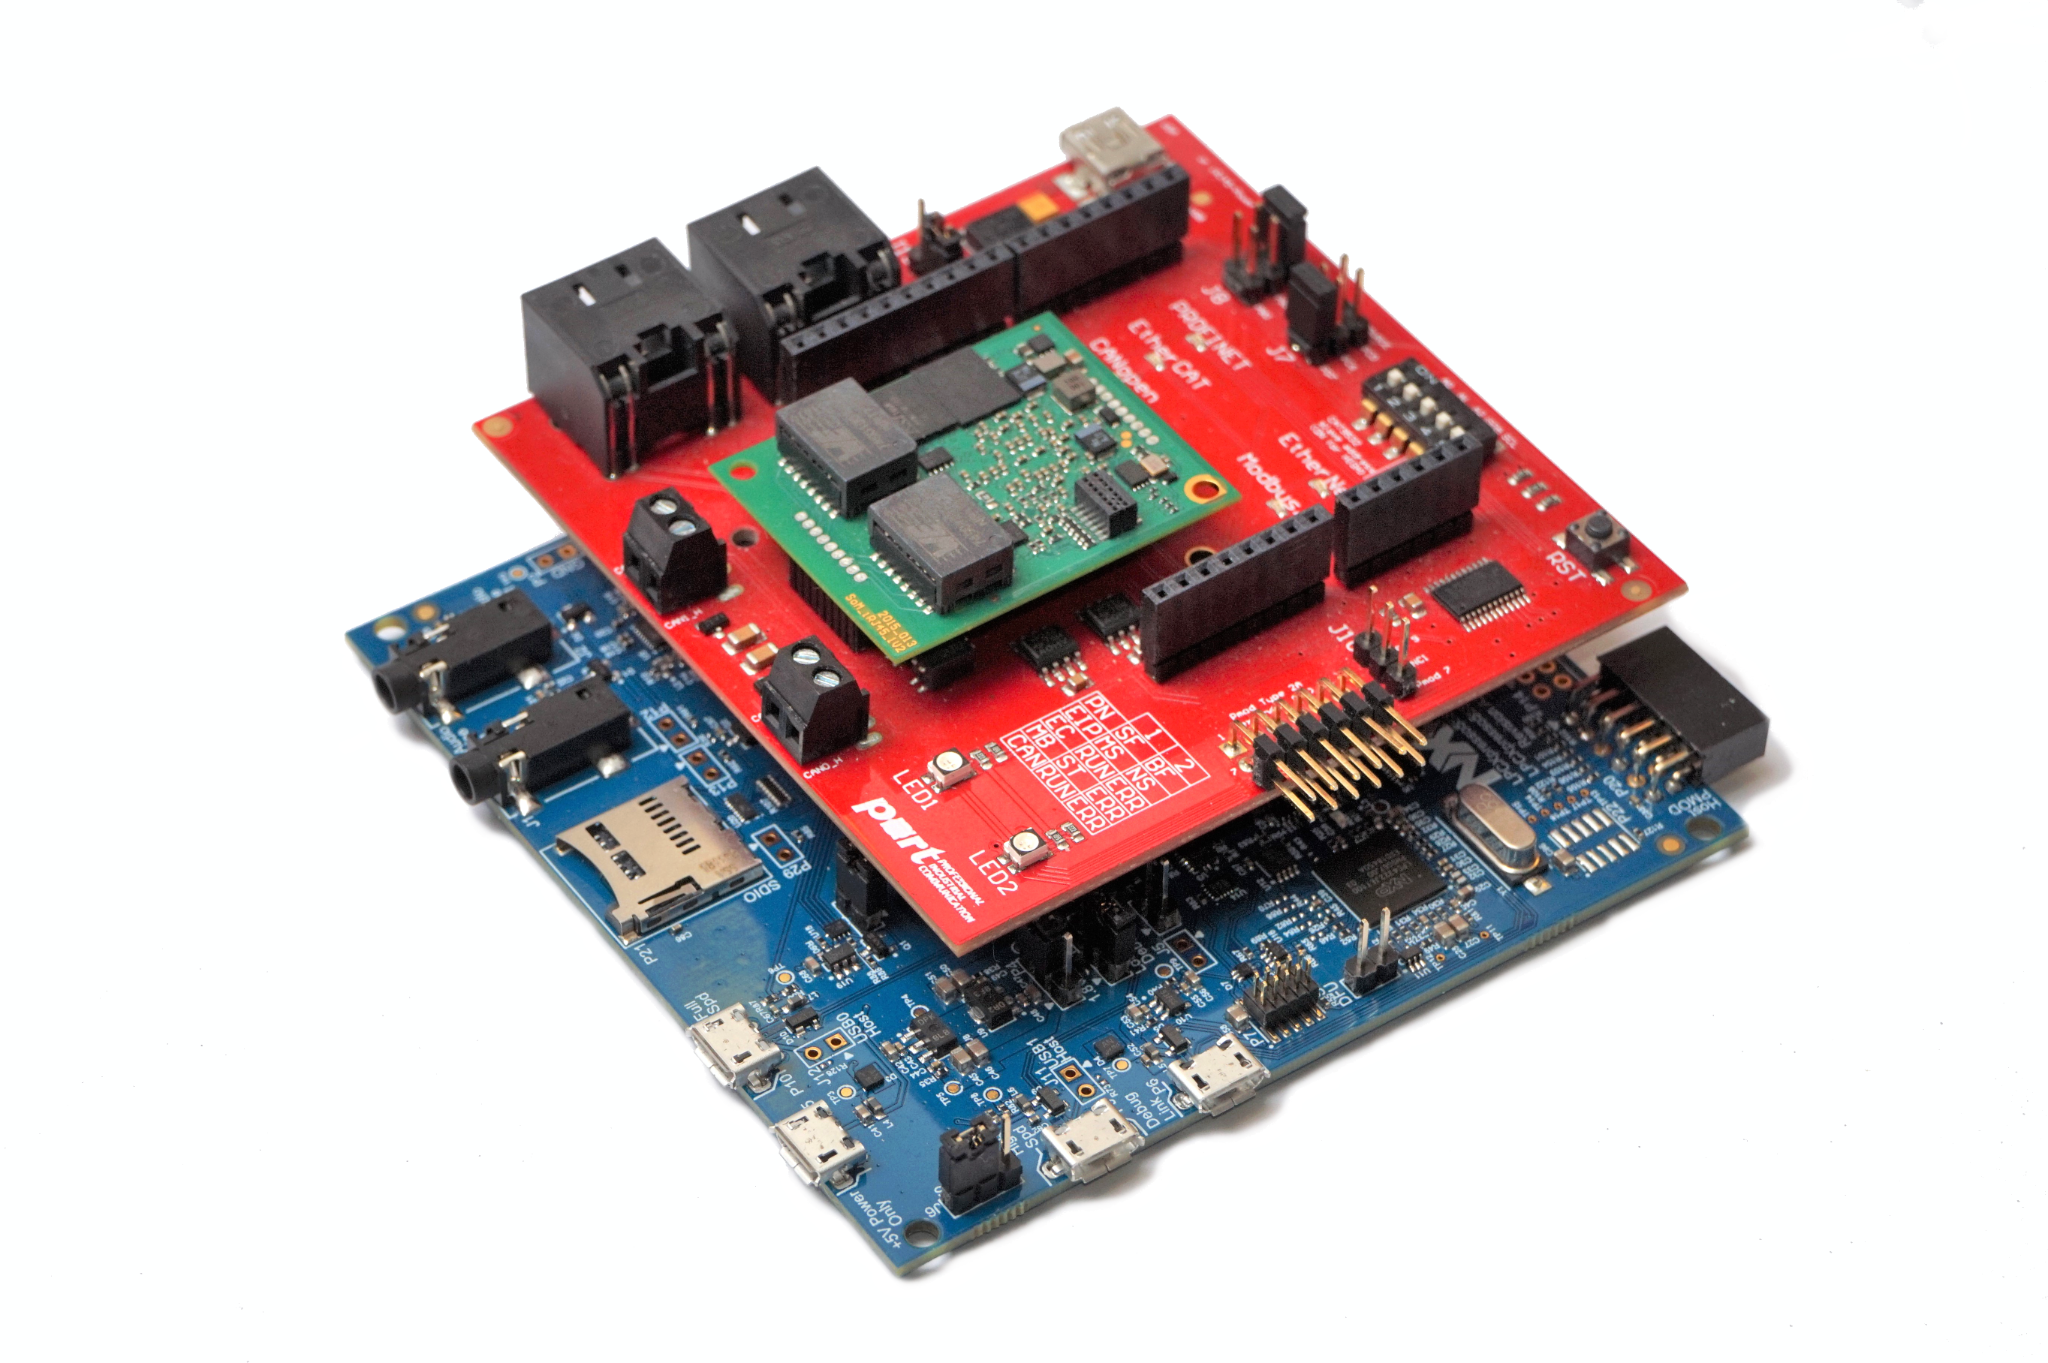
Connect both boards (see Figure above). Voltage supply is done through the VCC33_Sockel by the LPCXpresso55S69.
Please connect both boards with each other, before you connect them per USB to your computer.
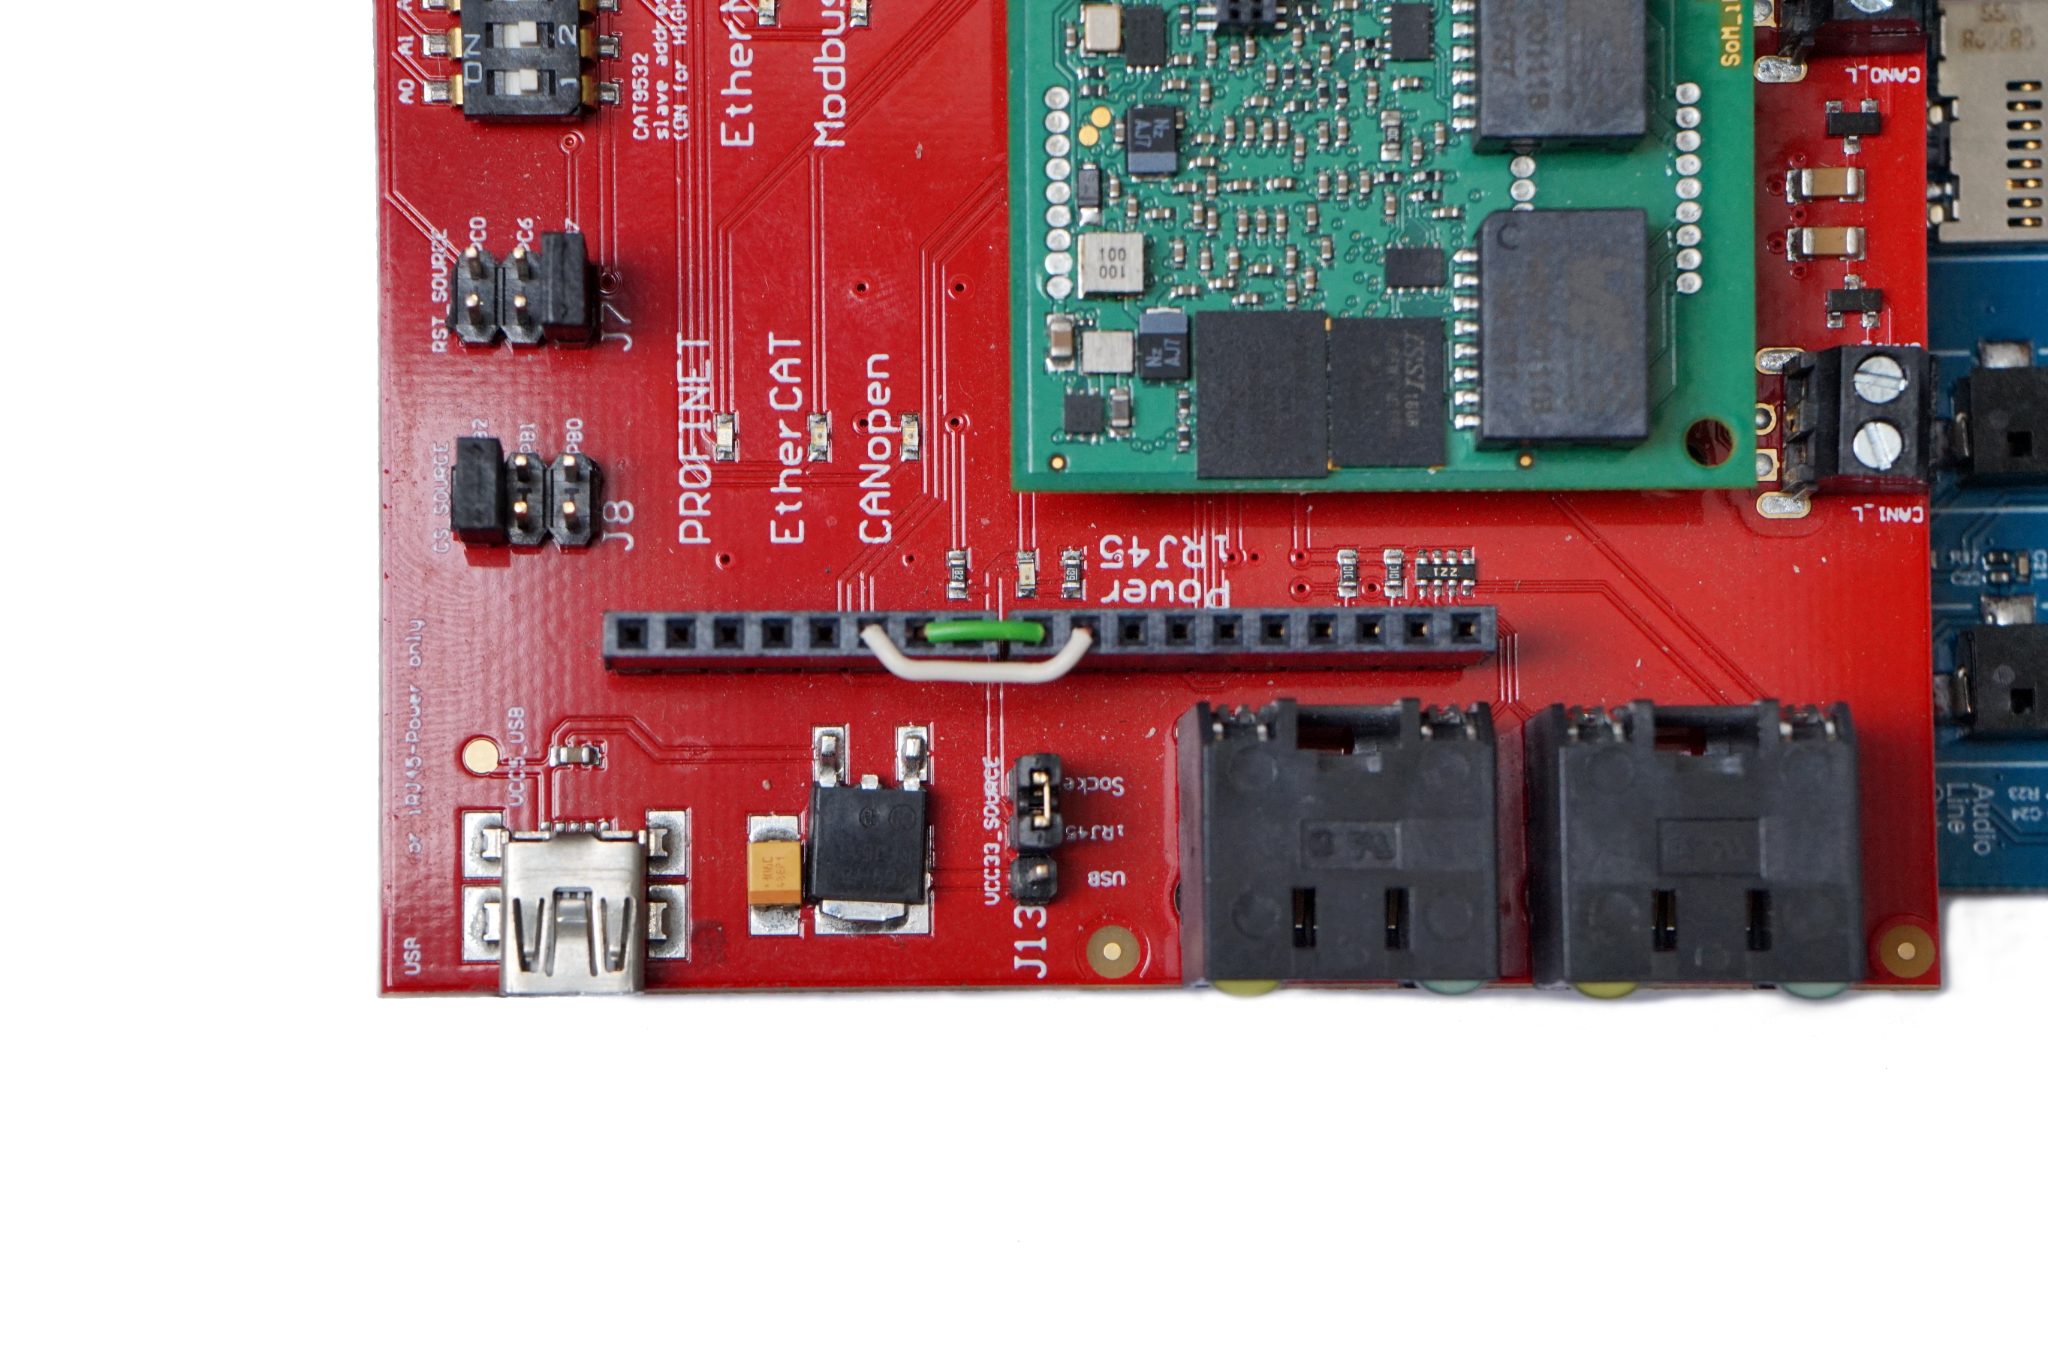
EtherCAT Distributed Clocks
The Platform LPCXpresso55S69 supports the feature EtherCAT Distributed Clocks (DC). To use the signal SYNC1 and SYNC0 bridges are needed to connect the pins of the Arduino Adaptershield with the Interrupt pins on the target. Connected as shown in the figure below, both of the SYNC signals cause an interrupt on the LPCXpresso55S69.
Using delivered build system
Prerequisites to flash LPCXpresso55S69
If you want flash the device per command line, there are following prerequisites to do:
Install MCUXpresso IDE from nxp, as this brings the necessary RedlinkServer.
Add the “binaries” directory, located in the installation directory of the MCUXpresso IDE, to your PATH variable (for e.g. “C:/nxp/MCUXpressoIDE_11.4.0_6224/ide/binaries” ).
Copy the target description files “ugoal/plat/lpc55s69/vendor/LPC55S69.xml” and “LPC55S69_part.xml” into the mentioned directory “binaries”.
Please restart the command line after adding the directory to the PATH variable.
Build and flash
Within a example folder “ugoal/projects/ugoal/<example name>/gcc” of the software delivery, build the firmware with following commands:
make PLATFORM=lpc55S69
Use following command within the example folder, to flash the application onto the LPCXpresso55S69:
make PLATFORM=lpc55S69 flash
If you want to clean the build, use following command:
make PLATFORM=lpc55S69 clean
The application will run after automaticly after flashing.
Using MCUXpresso IDE by NXP
This chapter describes the integration of the source files into a new e2 studio project, to edit, compile and debug the software delivery.
Please make sure to install the appropriate SDK for the LPCXpresso55S69 into the MCUXpresso IDE. The SDK can be downloaded on the NXP website.
Automated project generation
From any project folder a project generator can be run to create a MCUXpresso IDE project for the application. The project generator requires a python3 installation. Required dependencies are installed automatically.
If you want to create a MCUXpresso IDE project, run the following command:
make PLATFORM=lpc55s69 gen_project

Please select a template - OR - press <CTRL+c> and set the
GEN_PROJECT_TPL environment variable.

Choose IDE:
  [ 1] e2studio
  [ 2] eclipse
  [ 3] mcuxpressoide
  [ 4] stmcubeide

Choice [1-4]:
For the LPCXpresso55S69 the template number 3 needs to be chosen.
Selected template: [1] mcuxpressoide/nxp/lpcxpresso55s69

gen_project
-----------
Project: 02_eip_io_data_lpc55s69
Templates: /home/tbi/2015013_irj45/ugoal/tools/gen_project/templates/mcuxpressoide/nxp/lpcxpresso55s69
Generating: .cproject .project language.settings.xml
Output dir: /home/tbi/2015013_irj45/ugoal/projects/2015013_irj45/ac/02_eip_io_data/gcc/../ide/mcuxpressoide/nxp/lpc55s69/
The generated project should be imported into MCUXpresso IDE using “Import → Existing Projects into Workspace” and be browsing to the project folder:
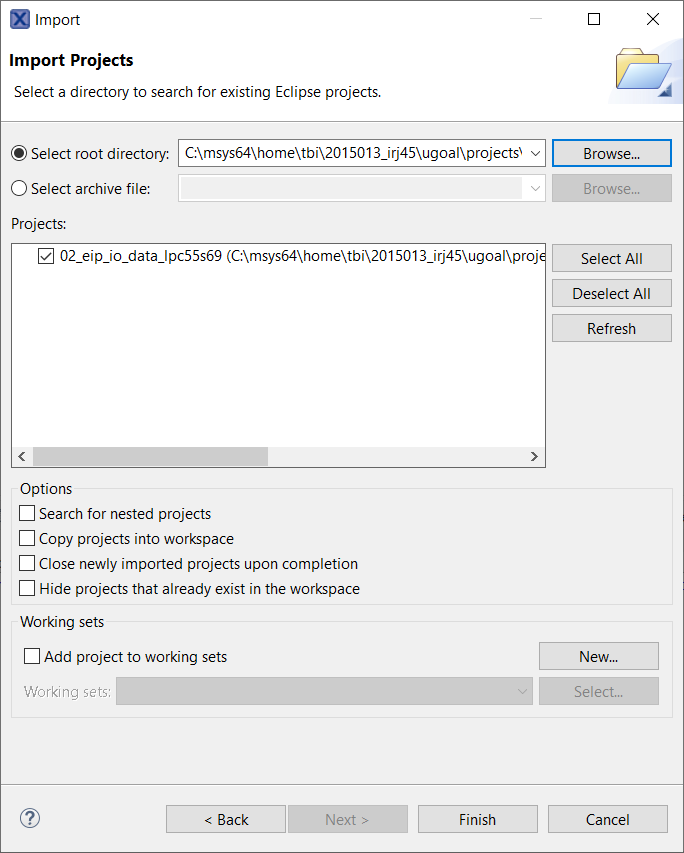
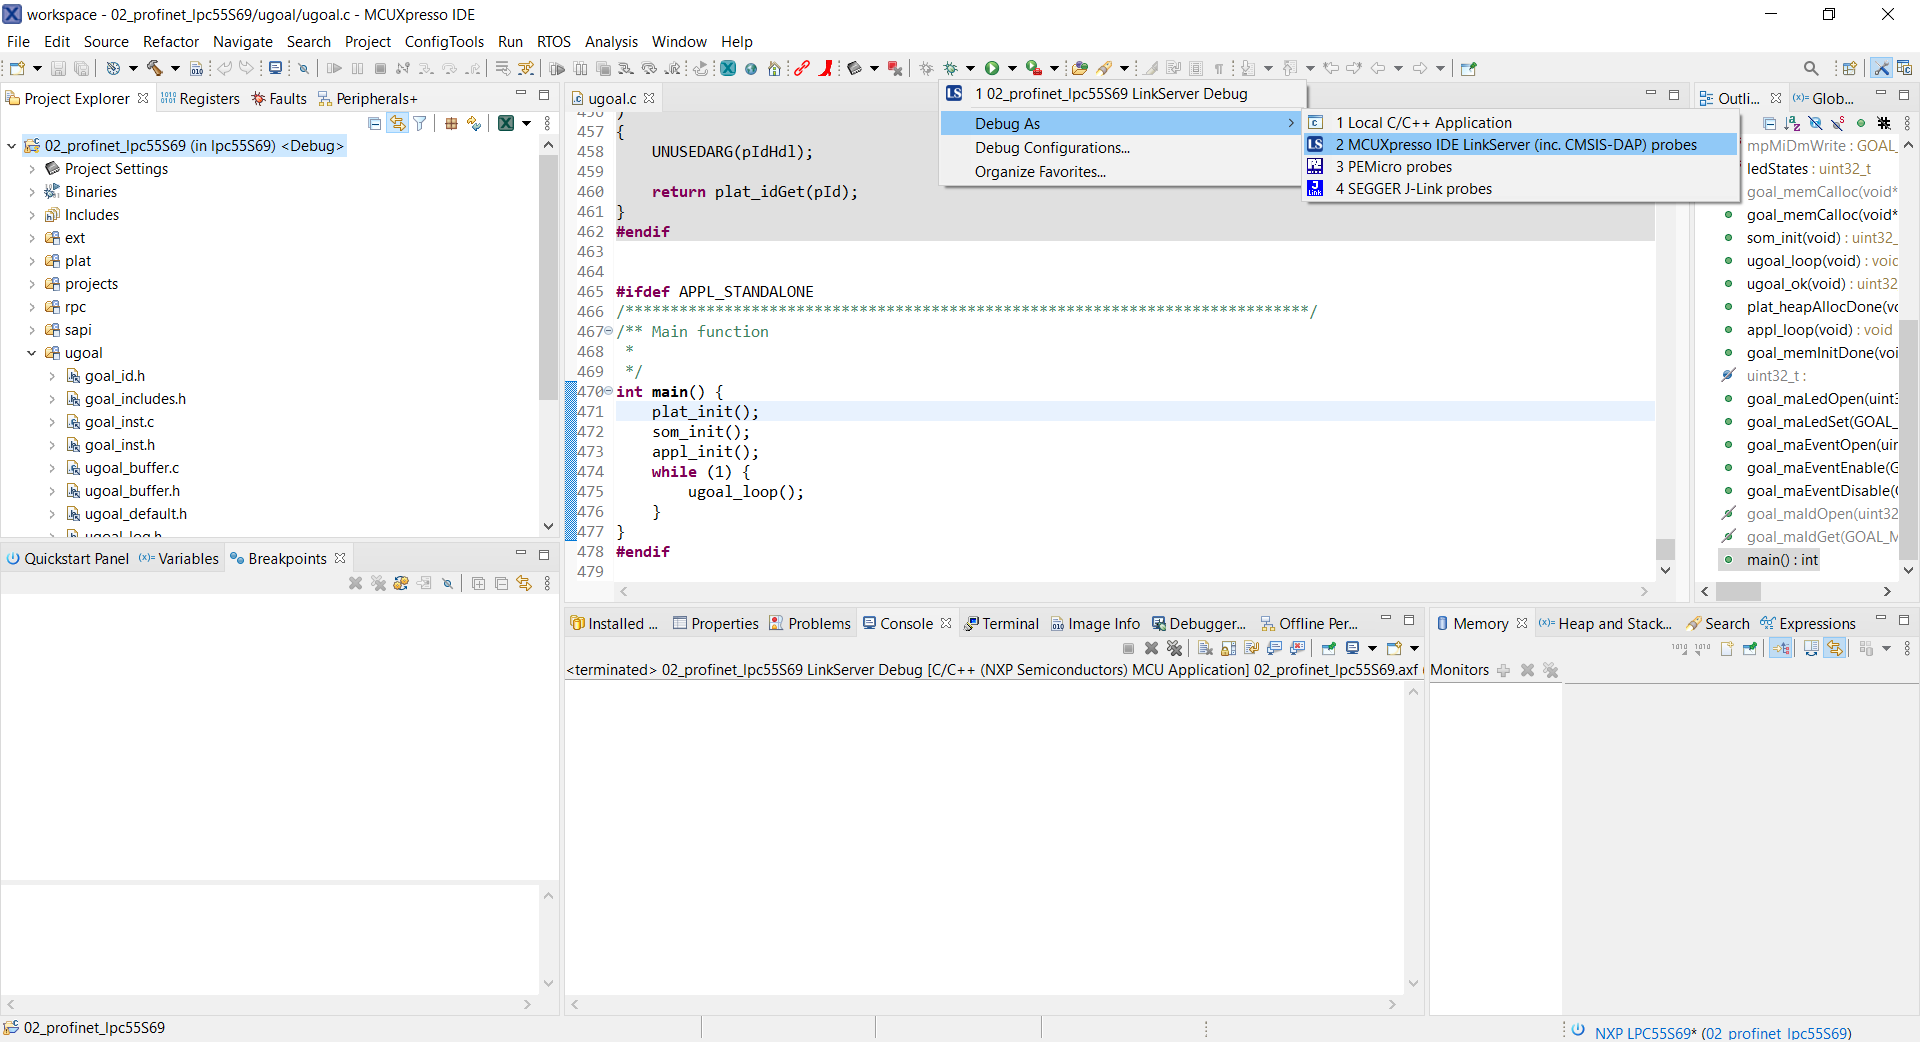
The imported project can be compiled and debugged using “Debug As → 2 MCUXpresso IDE LinkServer”:
Debugging
UART
The UART-interface of the LPCXpresso55S69 is accessable through the connected USB cable on the Debug Link P6 USB port. You can access the UART by launching a serial monitor like putty. Choose the following settings:
Speed | 115200 |
Data Bits | 8 |
Stop Bits | 1 |
Parity | None |
Flow Control | XON/XOFF |
Application
After setting up the serial monitor and starting the application, the output should look like this:
[INF] ../rpc/goal_mctc_rb.c:277 creating rpc ring buffer with buffer size 768 and elem size 256
[INF] ../rpc/goal_mctc_rb.c:277 creating rpc ring buffer with buffer size 768 and elem size 256
[INF] ../goal_media/goal_mi_mctc.c:793 rpc transfer size set to 1024
[INF] ../goal_media/goal_mi_mctc.c:723 peer requested Sync Init
[INF] ../goal_media/goal_mi_mctc.c:723 peer requested Sync Init
[INF] ../goal_media/goal_mi_mctc.c:723 peer requested Sync Init
[INF] ../goal_media/goal_mi_mctc.c:723 peer requested Sync Init
[INF] ../goal_media/goal_mi_mctc.c:455 RPC state synchronized, running appl_setup
[INF] ../goal_media/goal_mi_mctc.c:458 configuring timeout values for peer
[INF] ../pnio/goal_pnio_rpc_ac.c:259 PROFINET Application Core successfully started
[INF] ../example/02_profinet/goal_appl.c:188 Initializing device structure
[INF] ../example/02_profinet/goal_appl.c:230 PROFINET ready
[INF] ../goal_media/goal_mi_mctc.c:487 local setup done
Known Issues
Following you’ll find current limitations regarding the LPCXpresso55S69.
There are no known issues of this target.